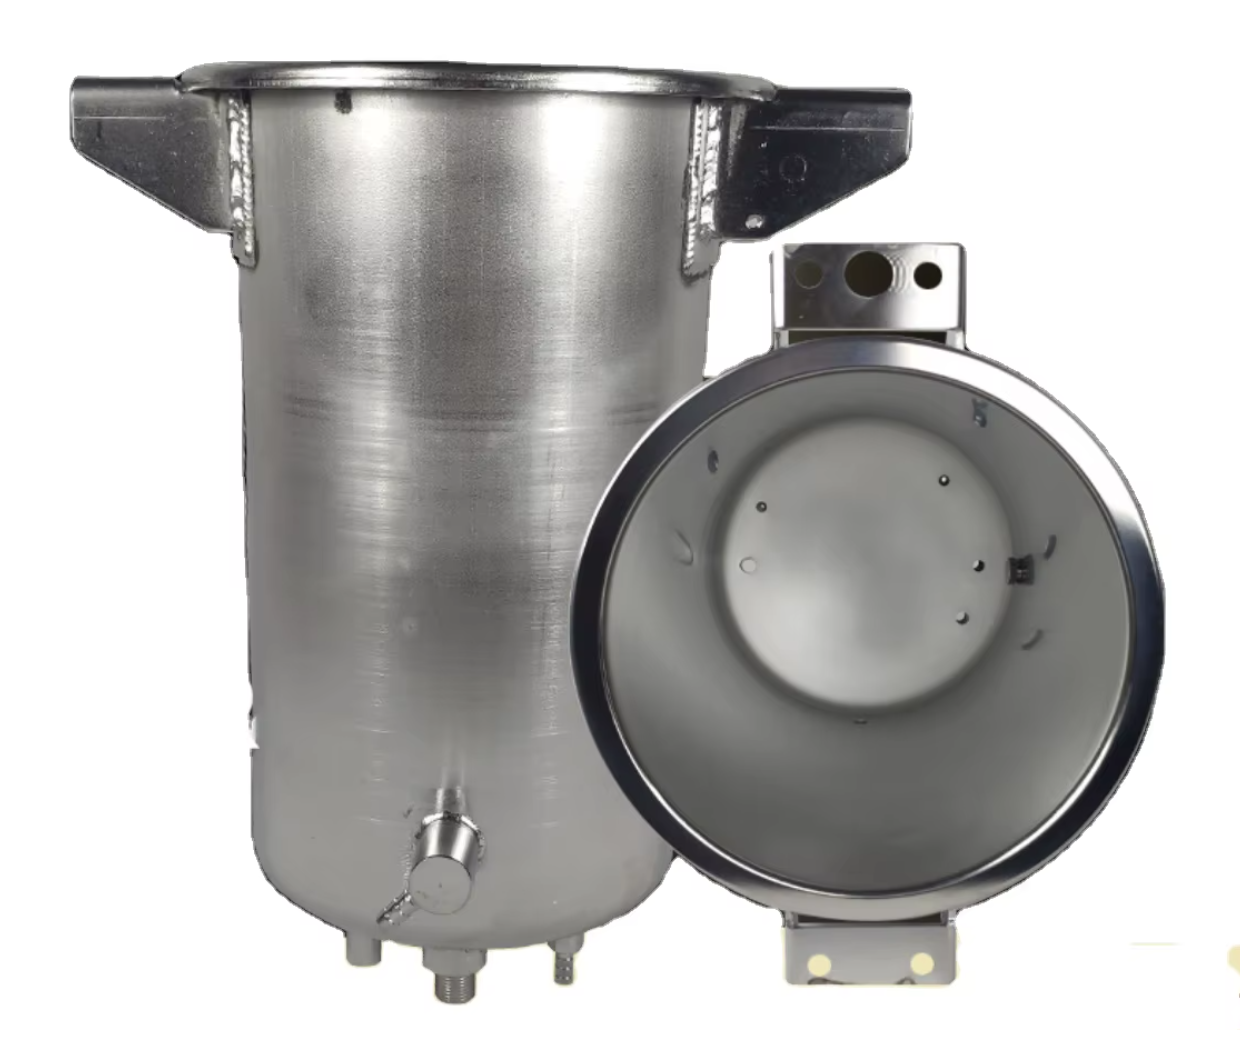
I. Overview of Dental Sterilizers
Dental sterilizers are essential equipment in dental clinics, used for high-efficiency sterilization of dental instruments to ensure medical safety and prevent cross-contamination. Modern dental sterilizers primarily utilize high-temperature, high-pressure steam sterilization, effectively eliminating various microorganisms, including bacterial spores.
II. Main Accessories of Dental Sterilizers
A complete dental sterilizer typically includes the following accessories:
- Main Unit: The core component, including the sterilization chamber, control system, heating system, etc.
- Sterilization Baskets/Trays:
- Used for holding instruments to be sterilized
- Usually made of stainless steel with ventilation holes
- Available in various sizes for different instruments
- Instrument Trays:
- Removable metal trays
- Used for categorizing dental instruments
- Sterilization Bags/Wrap:
- Single-use
- For packaging instruments before sterilization
- Often include chemical indicator strips
- Distilled Water Container:
- For storing water used in sterilization
- Some models have built-in containers
- Spare Sealing Rings:
- Replaceable parts such as door gaskets
- Chemical Indicator Strips/Biological Indicators:
- For verifying sterilization effectiveness
- Some are included as complimentary accessories
- Instrument Racks/Dividers:
- For securing and separating instruments
- Prevents instrument collisions
- User Manual and Maintenance Guide
- Drain Pipe/Exhaust Pipe (for some models)
III. Steps for Using a Dental Sterilizer
1. Pre-Sterilization Preparation
- Inspect the Equipment:
- Ensure proper power connection
- Check door gaskets for damage
- Verify sufficient distilled water in the container
- Prepare Instruments:
- Thoroughly clean instruments to remove blood, tissue, and organic matter
- Sort instruments into sterilization baskets/trays
- Add protective caps to sharp instruments
- Ensure hollow instruments are unobstructed
- Packaging:
- Use sterilization bags/wrap as needed
- Ensure proper sealing with visible chemical indicators
2. Sterilization Procedure
- Loading:
- Open the sterilization chamber door
- Place prepared baskets/trays inside
- Leave adequate space between instruments for steam penetration
- Avoid overloading (typically no more than 80% capacity)
- Add Water:
- Ensure sufficient distilled water
- Some automatic models will prompt for refilling
- Select Program:
- Choose the appropriate sterilization cycle based on instrument material
- Common programs:
- Standard sterilization (134°C, 4-6 minutes)
- Fast sterilization (for emergencies)
- Drying cycle (standalone or combined)
- Start Sterilization:
- Close and seal the chamber door
- Press the start button to begin the cycle
- Do not open the door during sterilization
- Completion:
- Wait for the cycle to finish automatically
- Some models will sound an alert
- Check the display to confirm completion
- Drying:
- If included, wait for the automatic drying phase
- If not, manually select a drying program
- Unloading:
- Confirm the pressure gauge returns to zero
- Open the door carefully to avoid burns
- Remove sterilized instruments
- Check chemical indicator color change
3. Post-Sterilization Handling
- Storage:
- Store sterilized instruments in a sterile cabinet
- Properly packaged instruments can typically last 30 days
- Unwrapped instruments should be used immediately
- Documentation:
- Record sterilization date, time, and operator
- Save chemical indicator or biological monitoring results
- Maintenance:
- Drain residual water from the chamber
- Clean the chamber interior
- Perform regular maintenance
IV. Important Notes
- Safety Warnings:
- Never force open the door during sterilization
- Be cautious of high temperatures when unloading
- Ensure proper grounding of the device
- Water Quality Requirements:
- Use only distilled or deionized water
- Never use tap or mineral water
- Regularly clean the tank to prevent scaling
- Instrument Compatibility:
- Confirm instruments are suitable for high-temperature sterilization
- Check plastic items for heat resistance
- Handle delicate instruments with care
- Maintenance:
- Perform empty-chamber tests before daily use
- Clean the chamber and door gaskets weekly
- Inspect pressure gauges and safety valves monthly
- Conduct biological monitoring quarterly
- Troubleshooting:
- Stop use immediately if a malfunction occurs
- Record the issue
- Contact professional technicians
V. Sterilization Effectiveness Monitoring
To ensure sterilization quality, perform the following checks regularly:
- Physical Monitoring: Observe temperature, pressure, and time during each cycle.
- Chemical Monitoring:
- Use chemical indicators in every package
- Daily Process Challenge Devices (PCD)
- Biological Monitoring:
- At least weekly
- Use Geobacillus stearothermophilus spores as biological indicators
VI. Frequently Asked Questions
Q: What should I do if the sterilizer alarms during use?
A: Check the error code on the display. Common issues include unsealed doors, low water levels, or temperature abnormalities. Follow the manual or contact customer service.
Q: Is condensation inside sterilization bags normal?
A: Minor condensation is normal, but excessive moisture indicates insufficient drying. Check the drying program or extend drying time.
Q: How often should sealing rings be replaced?
A: Typically every 1-2 years, but replace immediately if cracks, deformities, or leaks are detected.
Q: Why is there white powder on instruments after sterilization?
A: Likely caused by mineral deposits from poor water quality. Use proper distilled water and descale regularly.
By correctly using and maintaining dental sterilizers, clinics can ensure instrument sterility, provide a safe treatment environment, and extend equipment lifespan. Operators must receive proper training, strictly follow protocols, and maintain detailed records.